

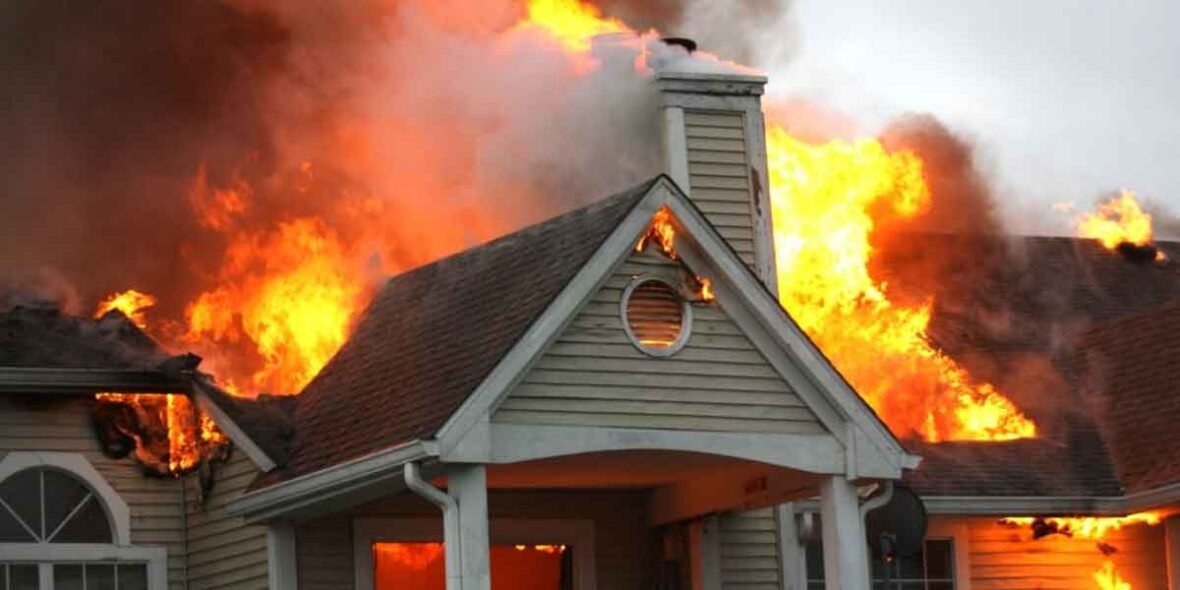
A house fire has the power to alter everything within just a few minutes; even once the fire is extinguished, the damage doesn’t cease since smoke, soot, and the water used by the firefighters can still impact your home. If you know what occurs afterwards, the process of recovery may seem a bit less daunting.
Fire restoration consists not only in getting rid of the burned materials but also in inspecting the property, eliminating any hazards, repairing the damaged areas, and making your home safe to live in once more. The following examines each stage so that you will know what to expect.
Ensure the Property Is Safe Before Entering
It’s natural to want to go and see your house after a fire, but it can be dangerous to go in too soon since the building might not be stable. One of the most important first actions is to wait for the all-clear.
When it has been declared safe, the property must be secured in order to avoid further damage. To protect the house while the repairs are taking place, the restoration teams usually fit boards to the broken windows, cover the damaged roofs with tarpaulins, and lock up the entrances.
Wait for Official Clearance
Before anyone enters the building, the firefighters and the building authorities carry out an inspection. They look for any floors that may be weakened, any walls that are damaged, any electrical hazards, and other possible safety dangers. Obediently following their instructions ensures that everybody’s safety is maintained.
Protect the Property
Following the inspection, the house is made secure from both the elements and intruders. For now, simple repairs such as boarding up the windows and putting on roof tarps will help to minimise further damage. These basic measures also serve to protect your possessions during the restoration work.
Stage 1: Fire Damage Assessment and Inspection
The initial stage of the fire damage restoration process involves a thorough inspection. The restoration experts examine each room in order to assess the extent of the damage caused by the fire, smoke, soot and water. This allows them to determine what can be saved and what has to be replaced.
A clear restoration plan is produced as a result of the inspection. The team records the damage, estimates the amount of work required, and collects the information needed to support your insurance claim. Having a good plan means that the project can proceed with fewer surprises.
Initial Property Evaluation
The technicians carefully examine the structure, the walls, the ceilings, the flooring and the personal belongings. They also look in any hidden areas since it is possible that smoke and moisture have reached those places. The detailed inspection thus provides a full account of the damage.
Develop a Restoration Plan
After the inspection has been completed, the team draws up a step-by-step repair plan. This plan generally contains the estimated timeline, the necessary repairs, and the cleaning methods. It also enables homeowners to know what to expect as the project progresses.
Stage 2: Emergency Mitigation
It is important to act quickly since damage can carry on even after the fire has died down; water left behind can cause mold and the exposed sections of the house may eventually become weaker. Carrying out emergency mitigation helps to prevent these issues from getting worse.
The restoration teams act quickly in order to stabilise the property and eliminate the immediate dangers. The aim of this phase is to protect the structure so that safe repairs can be carried out later. It is usually possible to save both time, money and materials if action is taken early.
Water Removal
The standing water is removed with the use of professional extraction equipment and drying then starts right away in order to reduce the moisture level inside the house, thereby also decreasing the risk of mold growth and further damage.
Property Stabilization
Temporary supports can be put in place when parts of the structure have become unsafe. The crews have the option of covering the damaged roofs and securing the broken openings. Taking these actions helps to keep the house protected until the permanent repairs start.
Stage 3: Smoke and Soot Cleanup
Smoke and soot are capable of extending well beyond the areas actually affected by the fire. They cause staining, produce an unpleasant smell, and release small particles which can have an impact on the quality of the air indoors. The longer they stay, the more difficult it becomes to remove them.
To carry out professional cleaning it is necessary to use special tools and products that are designed for fire damage; each surface that has been affected is carefully cleaned in order to avoid permanent staining or corrosion, and this stage also gets the house ready for the repairs and painting.
Cleaning Walls and Belongings
The proper methods are used to clean the walls, ceilings, furniture and all other items that can be reused. Since various materials need different cleaning techniques in order to prevent damage, experts know which method is best for each surface.
Removing Smoke Residue
Smoke particles frequently end up in the vents, in the corners, and in other concealed areas. Cleaning them out thoroughly will remove these residues before they lead to persistent odours and at the same time enhances the general air quality within the house.
Stage 4: Odor Removal
Smoke smells can remain in a house long after the visible damage has disappeared. The odor tends to become trapped in wood, fabric, drywall, and insulation. Simply cleaning the place normally isn’t sufficient to get rid of it altogether.
To deal with odours after a fire, restoration companies employ sophisticated odor elimination techniques which aim at removing the odor particles rather than just masking them. The result is that the house ends up smelling fresh again.
Specialized Odor Treatments
Depending on the extent of the damage, professionals may employ air scrubbers, thermal fogging, or other kinds of equipment, the method selected being determined by the type of smoke and the materials that have been affected. This in turn enables stubborn odours to be removed more effectively.
Stage 5: Drying and Dehumidification
Even after the visible puddles have gone, water from the firefighting operations can still be left inside the walls and the floorings. This hidden moisture may lead to mold growth, damage to the wood, and other expensive problems. It is important to thoroughly dry the property as part of the restoration process.
Industrial air movers and dehumidifiers are used together to get rid of the extra moisture. Restoration teams keep an eye on the moisture levels until all conditions have reached a safe level. This in turn decreases the likelihood of future problems.
Preventing Secondary Damage
The drying equipment remains in place until the moisture readings indicate that the house is dry; this helps to avoid mould growing, the flooring becoming warped and the drywall being damaged. Correct drying also serves to protect any repairs that are made later.
Stage 6: Repairing Structural Damage
Rebuilding can then start. The damaged framing, drywall, flooring, roofing, and other structural components are either repaired or replaced. The aim is to get the house once again to be safe, strong, and functional.
In some cases the repairs needed are only minor, but in other instances extensive rebuilding is required. The scale of the work depends on the severity of the fire and on the extent of the damage to the building. All the repairs have to comply with the local building regulations concerning safety.
Restoring the Structure
Damaged materials are replaced and areas which cannot be safely left as they are are repaired. The electrical and plumbing systems are checked before the home is reoccupied. This ensures that everything then works safely after the fire.
Stage 7: Restoring Interior Finishes
The last stage is about getting the house once more to feel like a home. Painting it, fitting in new floor coverings, trim, cabinets and fittings gives the room a new lease on life. It is at this point that the visible changes become clearly apparent.
Once the building work has been completed, the property undergoes a final inspection. The restoration teams make sure that the repairs have been carried out properly and that there are no smoke smells or any hidden moisture. After this, the homeowners can proceed with confidence.
Final Walkthrough
You and the restoration team will jointly review the work when the project is completed, and any outstanding concerns will be dealt with before the job is deemed finished. This last step provides the satisfaction that your home is now safe and ready for use again.
Conclusion
It takes time to recover from a fire, but if you understand all the different stages of the restoration process then it is easier to keep up with what is going on; each step, from the initial inspection right through to the final repairs, is important in getting your home back to a safe state.
If damage to your property has been caused by fire, taking quick action can help minimise additional damage and accelerate the recovery process. By employing an experienced fire restoration company you will have access to the support and expertise required in order to restore your home as safely and efficiently as possible.