Playgrounds are essential for children’s physical and social development. They provide opportunities for children to develop their skills, socialize with others, and de-stress.
But play equipment can be expensive to purchase. The average cost of playground equipment for private use is between $100 to $5,000, depending on the size and complexity of the equipment. For commercial and community playgrounds, the cost may be bigger, adding a significant financial burden to organizations and communities.
A great way to cut costs is to go the DIY route. In this article, explore different creative ways to build play equipment from scratch, adding a unique, personalized touch to your playgrounds!
7 Unique DIY Play Equipment Ideas that Won’t Break the Bank
Whether you’re a community leader or a school principal, creating a fun, unique, and low-cost playground is within arm’s reach. Here are a few DIY ideas for you to try:
Swings
Materials Needed:
- Old tire or wooden plank
- Strong ropes or chains
- Carabiners or sturdy hardware
For the seat, choose between repurposing an old tire or using a sturdy wooden plank as the swing seat. Attach strong ropes or chains securely to the seat. Next, suspend the swing from a sturdy tree branch or a dedicated swing set using carabiners or sturdy hardware. Make adjustments to the height as needed, taking note of the age group using it.
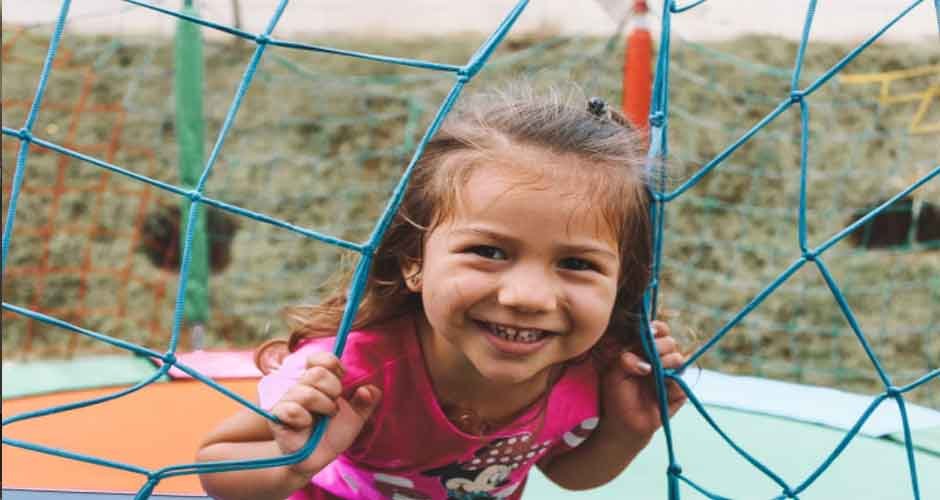
Climbing Structures
Materials Needed:
- Cargo net or wooden planks
- Sturdy poles or tree branches
- Screws, bolts, or cable ties
First, select the climbing material, whether a cargo net or wooden planks, for the climbing surface. Then, attach the climbing material to sturdy poles or secure it to tree branches. When doing so, you may need to drill holes in the material and the support structure for screws, bolts, or cable ties. A high-quality drill press ensures precise and straight holes, enhancing the stability of the climbing structure.
Then, check that the climbing structure is stable and properly anchored. For an added challenge, vary the height of the climbing elements and incorporate different textures.
Merry Go Rounds
Materials Needed:
- Plywood or metal sheet
- Sturdy central pivot
- Bearings for rotation
Cut a circular platform from plywood or use a pre-cut metal sheet. Then, secure a sturdy central pivot in the center of the platform. Attach bearings to the platform and pivot to allow smooth rotation. For the final touch, add a splash of color and decorative elements to make it visually appealing.
If you want to prop your play equipment right away, consider a pre-built merry-go-round. Choose from different types: the standard merry-go-round, a hold ‘n spin type, or a merry-go cycle!
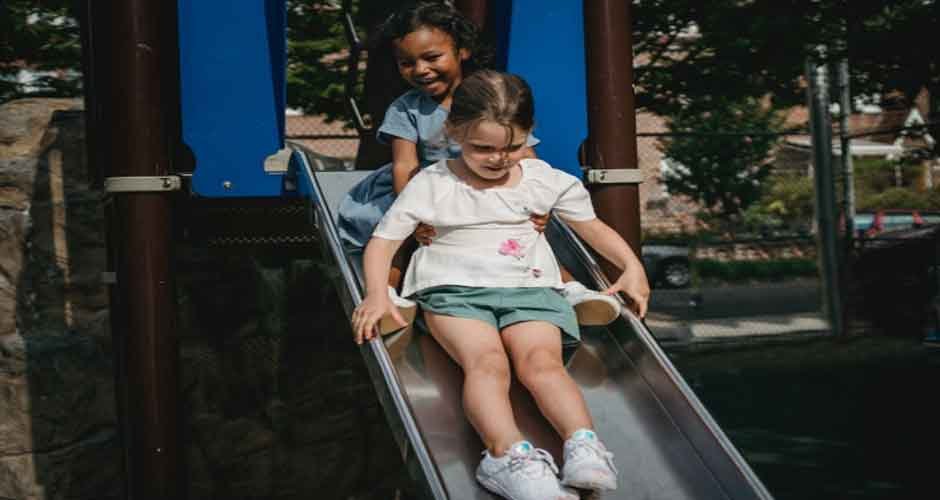
Slides
Materials Needed:
- Plywood or plastic sheet
- Sturdy frame or ladder
- Screws or bolts
To build the slide platform, cut a smooth, inclined surface from plywood or use a plastic sheet for the slide. Then, build a sturdy frame or ladder for the slide to attach to. Secure the slide by attaching the slide platform securely to the support frame. Most of all, ensure the slide is at an appropriate height and angle for a safe and enjoyable descent.
Seesaws
Materials Needed:
- Sturdy wooden planks
- Fulcrum (central pivot point)
- Screws or bolts
First off, cut two sturdy wooden planks of equal length for the seesaw seats. Then, secure a central pivot point (fulcrum) at the midpoint of the seesaw.
Next is attaching the seats, Affix the seesaw seats on either side of the fulcrum using screws or bolts. Don’t forget to test whether the seesaw is balanced and moves smoothly.
Sandboxes
Materials Needed:
- Timber or treated wood
- Geotextile fabric (optional)
- Sand
Construct a rectangular frame from timber or treated wood. Here’s an optional step: line the interior with geotextile fabric to prevent weeds from growing around it. Next up is filling the box with clean, child-safe sand to the frame. Consider adding a cover to protect the sand from debris and animals when not in use.
Playhouses
Materials Needed:
- Wooden pallets or sheets
- Nails or screws
- Paint or sealant
Start by building the frame. Use wooden pallets or sheets to construct the walls and roof of the playhouse. Fasten the components securely with nails or screws. Cut openings for windows and a door, and secure them in place. Finally, add a layer of child-safe paint or sealant, and consider adding decorative elements for a personalized touch.
DIY Playground Tips You Can’t Miss
Going the DIY route may be cost-saving, but there are several tips you shouldn’t skip before getting started.
- Evaluate your Space. Measure the available space in your backyard. Then, identify potential hazards and plan around them.
- Research and Design. Aside from looking for inspiration online, in books, or at local parks, consider age-appropriate features and elements that promote physical activity and creativity.
- Gather Materials and Tools. Based on your design, create a list of necessary materials, such as saws, drills, screws, and measuring tape. For everyone’s safety, ensure all tools are in good working condition.
- Follow Safety Guidelines. Research safety standards for playground equipment, ensuring all structures meet or exceed these standards. Place your play equipment on level ground and away from potential hazards.
- Start with Simple Projects. If you’re new to DIY, begin with simpler projects before tackling more complex structures. Follow detailed plans or tutorials for guidance. Most importantly, ensure all parts are securely fastened to prevent accidents.
- Regularly Inspect Equipment. Schedule routine inspections to identify wear and tear. Replace or repair any damaged parts promptly.
Have Fun Building!
Creating a vibrant and engaging play area is within reach, regardless of your budget. By repurposing materials and embracing a do-it-yourself spirit, you’re all set to create a space that is both resourceful and imaginative. Remember, the safety of the little ones enjoying your playground is paramount.
As you kickstart your project, remember that the goal is not just to create a play space but to cultivate cherished memories for children and the community.