
Today, one of the most preferred laptops of consumers are those from HP. If you have one, you are going to need to take a screenshot at some point. You might think that you won’t but best believe, you will. Some examples like taking screenshots of a video game or a conversation you want to use a reference.
Learning how to take a screenshot conveniently will surely come in handy, maybe not today but you will someday. So, if you are not that familiar with your laptop yet, here are easy ways if you want to take a screenshot on your HP laptop.
Option 1: The Default Method
Most HP laptops are run by Chrome or Windows 10 operating systems. With this considered, we’re going to show you first how to take screenshots by using a combination of keys on your keyboard. So first, locate the print screen key, which is marked either with PrtScn or Prt Sc.
After locating this key, please follow these steps:
● Step 1: Locate the Windows key and press it together with the print screen key. This lets you take a screenshot of the full screen of your laptop. To confirm that the screenshot was successful, your screen will become slightly dim right away.
● Step 2: To view the screenshot and edit it, you must run a type of image editing software, such as Microsoft Paint, GIMP, Photoshop, and PaintShop Pro.
● Step 3: After launching the software, press Ctrl+V, which is the combination for the shortcut of paste. If you feel more comfortable, you can simply right click your mouse and choose the Paste option.
● Step 4: After following the previous steps properly, you should be able to see your screenshot by now, ready to be saved or edited. You can save it in a JPG or PNG format, and make sure to save it on the proper folder.
Option 2: Snipping Tool
A snipping tool is another easy and fast way to take a screenshot that doesn’t need you to install third-party software. This tool is already found on your laptop as it comes with the package of your operating system, regardless if you have Windows 7, Windows 8, or Windows 10.
To take screenshots with your snipping tool, please follow these steps:
● Step 1: Locate and run the snipping tool on your laptop.
● Step 2: Once you are in the app, choose New to identify which part of your screen you want to take a screenshot. Another way is to press CTRL + N for the same process.
● Step 3: The cursor of your mouse will transform into a crosshair form, allowing you to mark the area that you want to capture in a rectangular form.
● Step 4: After capturing the screenshot, you can now save it by clicking the disc icon found at the top area of the screen. When saving, don’t forget to select your preferred format, PNG or JPEG.
A snipping tool is usually the preferred way for capturing screenshots as it allows you to do it in different ways. There is the full-screen snip that lets you take the full screen of your laptop, the free-form snip that lets you capture any form, and the active window snip.
Option 3: Snagit
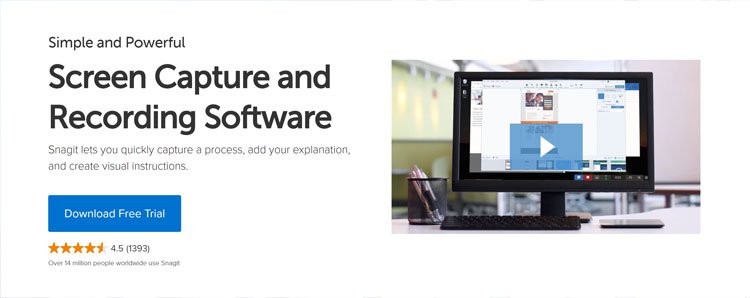
If you are looking for a tool that lets you edit a screenshot more, then you should check out Snagit. Apart from the editing tools, this app lets you capture videos! If you prefer to use this tool, see the steps below on how to use it:
● Step 1: Before anything else, you need to download the Snagit app first into your laptop. You will then have to run it after the download is complete and successful.
● Step 2: Press the red dot so you can take the screenshot.
● Step 3: When capturing, press the camera icon. If you are going to capture a video, then choose the video icon instead.
● Step 4: For the last step, choose the screen you want to take and the app will save it. You can now do further revisions if you wish to.
Option 4: Apowersoft Screen Capture
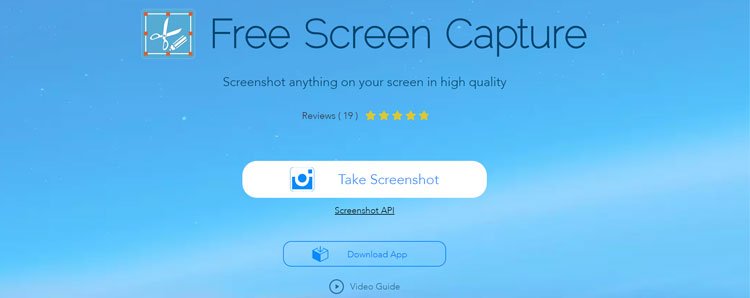
Another great screen capture app you should consider is Apowersoft. Like the Snagit tool, this app is also free and you can use various amazing features. This app lets you take an image of a specific area, a window, or the entire screen of your laptop.
Apowersoft has several editing options and what’s more, it lets you share it on social media sites and even provide a cloud space for the screenshots you want to save.
If you are interested in using Apowersoft, here’s how you can take a screenshot using it:
● Step 1: If you still don’t have it, you have to download the app first, install, and run it.
● Step 2: Next, open the window that you want to take a screenshot.
● Step 3: To capture an image, you can do it in two ways: press the print screen key on your keyboard or press the camera icon on the Apowersoft app.
● Step 4: You will notice that the cursor of your mouse will have a crosshair form. This lets you capture either an area or the entire screen of your laptop.
● Step 5: After doing this, you will then see the different editing tools on the app that you can use.
● Step 6: After you are done editing and you are satisfied with the outcome, save the screenshot on the proper fold on your computer.
Option 5: Another Option
This option for taking screenshots is applicable if you have the Windows 10 OS. Microsoft made some updates not so long ago and one of them is letting you take screenshots easily. Follow the steps below if you prefer this method:
● Step 1: On your keyboard, press this combination simultaneously – Windows key + Shift + S. After doing this, your screen will become white, and your mouse cursor will change to a crosshair form.
● Step 2: Now, you have to choose which part you want to capture. After choosing, it will be saved on your clipboard.
● Step 3: If you need to do further editing, open the app mentioned here previously and press CTRL + V.
● Step 4: If you are satisfied with the image, save it on your laptop.