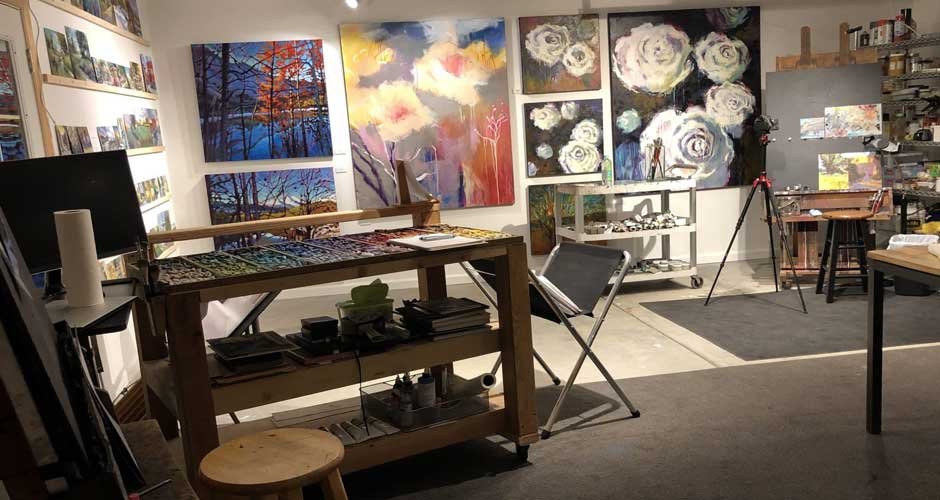
To get precise color representation and to further your creative vision, you must design the ideal lighting for your painting studio. Not only does good lighting enliven your workstation, but it also affects your mood and level of productivity as an artist. If you’re a mixed-media artist, painter, sculptor, or photographer, learning the fundamentals of art studio lighting can improve your work.
1. Understanding Natural Light vs. Artificial Light
Whether you own a studio or have an art studio space for rent, recognizing the differences between artificial and natural light sources is the first step in designing the ideal lighting for an art studio. If an artist works with color-sensitive media, such as painting or photography, natural light renders colors the most accurately. North-facing windows are great for studios since they usually provide steady, diffused light throughout the day. West-facing windows give warmer afternoon light with the possibility of dramatic shadows, while east-facing windows provide brilliant morning light. Artificial lighting becomes essential if you work in the evenings if your studio doesn’t get enough natural light.
2. Calculating Lighting Requirements
Based on the size of your workspace and your creative requirements, you may calculate lumens per square foot to determine the right lighting intensity for your art studio. For broad works like painting or sketching, you should aim for 50-75 lumens per square foot; for more intricate work like sculpting or photography, you should strive for 75-100 lumens per square foot. To calculate the total lumens required, take an exact measurement of your studio space and multiply the area (length x breadth) by the suggested lumens per square foot.
3. Layering Light for Function and Ambiance
You can adjust lighting settings for various jobs and moods in your painting studio by designing a tiered lighting plan that improves both functionality and atmosphere. Commence with ambient lighting, which offers general illumination to uniformly illuminate the whole area. Ambient lighting is best achieved using ceiling-mounted LED panels or track lighting systems with movable heads, which allow light to be directed precisely where it is required. After that, add task lighting to highlight certain work locations, such as your sculpting station, worktable, or easel. Adjustable desk lamps or clamp lights provide focused illumination for detailed activities without glare or shadows with daylight-balanced LEDs.
4. Choosing the Right Light Fixtures
When choosing lighting fixtures for your art studio, you should take energy economy, color rendering index (CRI), and temperature into account. To ensure that the colors and details in your artwork are faithfully rendered, use LED light fixtures with a high CRI of 90 or higher. Color vibrancy and clarity are enhanced with LEDs with a color temperature between 5000K and 6500K, which provide a daylight-balanced light that closely resembles natural sunshine. To ensure that the lighting meets your demands all day, use lights that have dimmable or adjustable brightness settings. For studios with limited space for freestanding fixtures, ceiling-mounted LED panels or pendant lights are a good option since they provide consistent lighting while conserving important floor space.
5. Implementing Lighting Controls and Adjustments
You may modify lighting levels in your art studio according to your creative duties, your tastes, and the time of day by installing controls and adjustments for illumination. To adjust the color temperature and light intensity throughout your office, use smart lighting systems or dimmer switches with programmed settings. With the help of dimmers, you may generate ambient lighting for ordinary chores or boost brightness for more pronounced work that needs better visibility. Employ directional lighting equipment, such as swing-arm lamps or adjustable track lights, to precisely concentrate light on your desk or artwork without disturbing other areas.
6. Maintaining Lighting Quality and Consistency
The integrity and visual impact of your artwork depend on maintaining consistent and high-quality illumination in your art studio. Maintaining dust and debris-free light fixtures, lenses, and bulbs may improve color accuracy and reduce light output. Burned-out lightbulbs should be changed as soon as possible to provide consistent lighting and avoid interfering with your creative process. Keep an eye on the lighting throughout the day to take into consideration variations in natural light. Adjust artificial lighting as necessary to keep brightness and color temperature constant.
Conclusion
Understanding natural and artificial light sources, figuring out how much light is needed, layering light for ambiance and functionality, selecting the appropriate light fixtures, putting controls and adjustments into place, and upholding lighting consistency and quality are all necessary to create the ideal lighting for your art studio. Seize the chance to shed light on your creative ideas and produce works of art that have impact, clarity, and brightness.